Sales
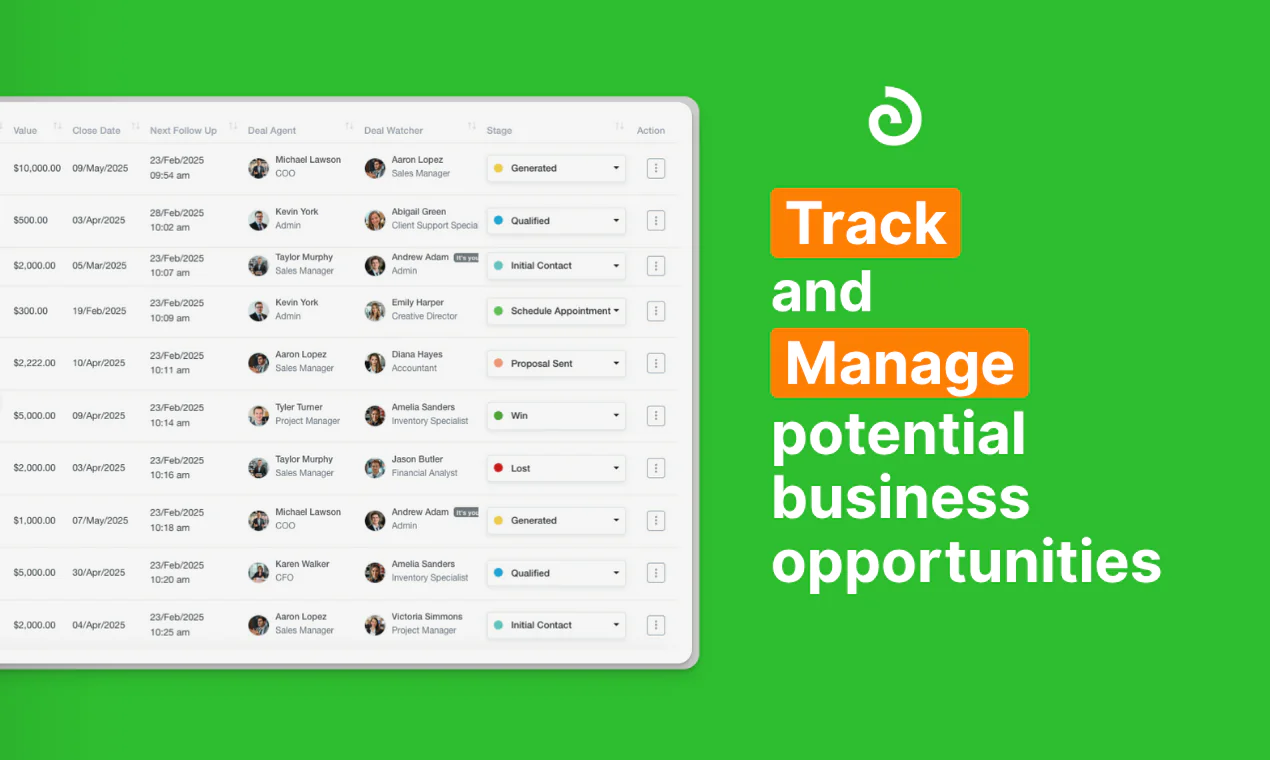
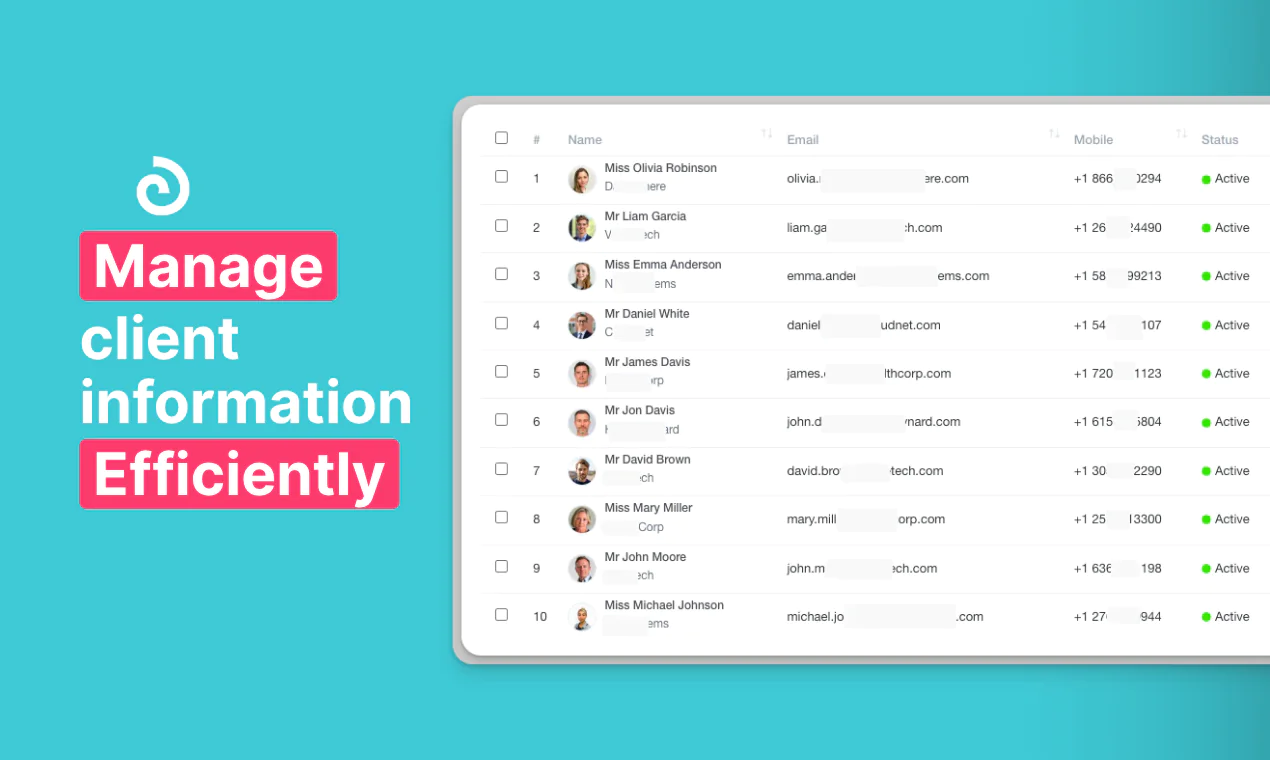
The Lead Contacts section in Olqan allows users to manage and track potential business leads. This module helps organizations store lead information, filter contacts, and import/export data efficiently.
1. Navigating to Lead Contacts
- Click on Sales in the left navigation menu.
- Select Lead Contact to open the lead management interface.
2. Lead Contacts Interface
The Lead Contacts page consists of the following elements:
- Filters & Search Bar: Users can filter leads by duration, start and end date, or type. Additionally, a search bar is available to quickly find specific contacts.
- Add Lead Contact Button: Enables users to create a new lead entry.
- Lead Form: Provides a structured way to input lead details.
- Import & Export Options: Users can import leads from external sources or export existing data.
- Leads Table: Displays existing lead contacts with the following columns:
- Contact Name
- Added By
- Created Date
- Action (Edit/Delete)
- Pagination Control: Allows users to navigate through multiple pages of lead contacts.
3. Key Features
- Filter and Search: Narrow down leads based on specific criteria.
- Add New Leads: Input new leads manually via the Add Lead Contact button.
- Data Management: Import contacts in bulk and export existing records for external analysis.
- Easy Navigation: Sort lead contacts by name, date, or assigned user.
The next section will cover how to add a lead in detail.
Adding Lead Contact Info
The Add Lead Contact feature enables users to manually input potential clients into the system. This section explains how to fill in lead details and save them efficiently.
Steps to Add a Lead Contact
- Navigate to the Lead Contacts Page:
- Click on Leads in the left menu.
- Select Lead Contact to access the lead contacts page.
- Click the + Add Lead Contact button.
- Enter Lead Contact Details:
- Salutation: Select from available options (e.g., Mr., Ms., Dr.).
- Name (Required): Enter the full name of the lead.
- Email: Provide an email address for communication.
- Lead Source: Choose how the lead was acquired from the dropdown list, including:
- Friend
- Direct
- TV
- Added By: Automatically displays the user who is adding the contact.
- Expand ‘Company Details’ Section (if applicable):
- Click on the Company Details dropdown to fill in additional business-related information.
- Save the Lead Contact:
- Click Save to add the contact.
- Click Save & Add More if you want to enter another lead immediately.
- Click Cancel to discard the entry.
This process ensures efficient tracking of new leads for future engagement.
Lead Form
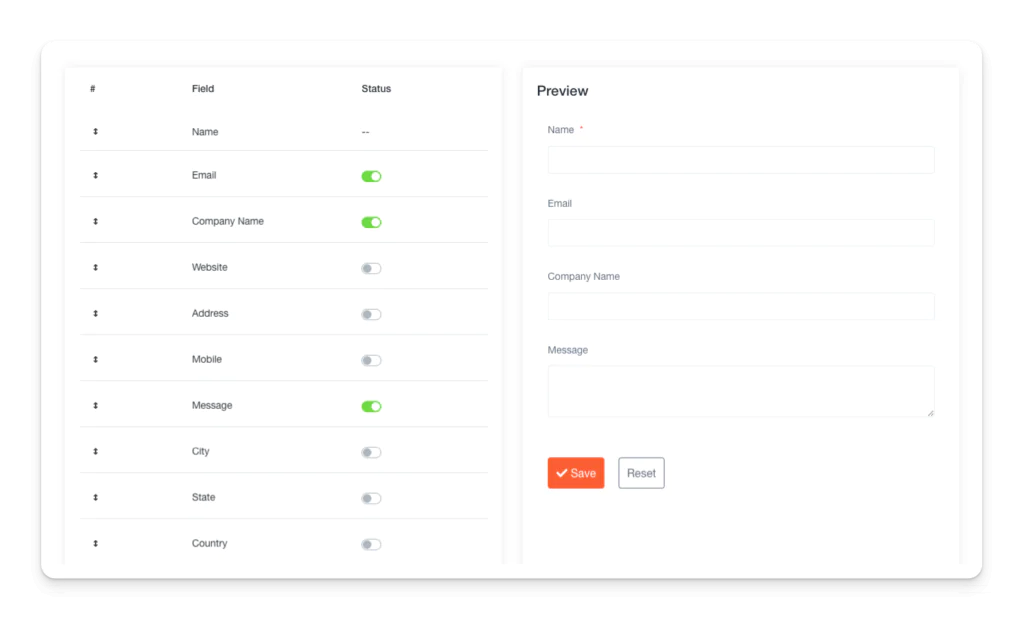
The Lead Form section allows users to customize, edit, and share lead capture forms. This feature helps businesses collect lead information directly from prospects and integrate it into the system.
Key Features
- Field Customization
- Users can toggle the visibility of specific fields in the form.
- Available fields include (You can add more fields through the Custom Fields feature):
- Name (Required)
- Company Name
- Website
- Address
- Mobile
- Message
- City
- State
- Country
- Postal Code
- Source
- Product
- Form Preview
- Displays how the form appears to users before finalizing.
- Editable fields allow users to modify the data before saving.
- Embed and Direct Link Options
- Users can copy an HTML iframe code to embed the form on external websites.
- A direct link to the lead form is provided for sharing with prospects.
- Save and Reset Options
- Save: Submits the lead form.
- Reset: Clears all entered data to start fresh.
This feature ensures flexibility in lead collection and helps streamline the sales process.
Import Leads
The Import Leads feature allows users to upload bulk lead data into the system using Excel or CSV files. This functionality helps streamline lead management by efficiently adding multiple contacts at once.
Steps to Import Leads
- Navigate to the Import Leads Page
- Click on Leads in the left menu.
- Select Lead Contact and choose the Import button.
- Prepare Your File
- Ensure the file is in XLS, XLSX, or CSV format.
- The date format should be Y-m-d (e.g., 2024-05-15).
- Include a header row if necessary (toggle the option accordingly).
- Upload the File
- Click Choose a file and select the prepared file from your computer.
- Proceed with the Import
- Toggle the File Contains Headings Row option if your file includes headers.
- Click Upload and Move to Next Step to proceed.
- Click Back to return to the previous page if needed.
Once uploaded, the system will process the data, and the leads will be added to the database for further management.
After uploading the lead file, the system will guide you through the data mapping process, where you can ensure all columns are correctly matched to the system’s fields before finalizing the import.
Steps to Map and Finalize Lead Data
- Review Imported Data
- The system automatically attempts to match the CSV columns with the appropriate fields in Olqan.
- Successfully matched columns are highlighted in blue.
- Any unmatched columns appear as grayed out and require manual mapping.
- Manually Match Unmatched Columns
- If any fields are unmatched, they will be displayed at the top under “Unmatched Columns.”
- Click Edit next to an unmatched column and select the appropriate field from the dropdown.
- Click Save to confirm the mapping.
- If a column is unnecessary, click Skip to ignore it.
- Verify Data Accuracy
- Review details such as Name, Email, Company Name, Address, Mobile, City, State, Country, Postal Code, Source, and Product.
- Ensure all information is correctly aligned and categorized.
- Submit the Import
- Once all columns are mapped correctly, a confirmation message will appear:
“Well done! You have successfully matched all the columns. Please click on submit to save.” - Click the Submit button to complete the lead import.
- If any corrections are needed, you can go back and edit before submitting.
- Once all columns are mapped correctly, a confirmation message will appear:
- Finalization
- The newly imported leads will now be available in the Lead Contacts section.
- You can further manage or edit them as needed.
This process ensures accurate bulk lead entry while allowing flexibility in data mapping before finalization.
Export Leads
The Export Leads feature allows users to download lead data from the system in XLSX format for external use, reporting, or backup purposes.
Steps to Export Leads
- Navigate to the Lead Contacts Page
- Click on Leads in the left menu.
- Select Lead Contact to access the lead management page.
- Click the Export Button
- Locate and click the Export button.
- The system will automatically generate an XLSX file.
- Download Process
- The file download will begin immediately.
- The exported file will contain all stored leads, including fields such as:
- Name
- Company Name
- Mobile
- Address
- City
- State
- Country
- Postal Code
- Lead Source
- Product
- Using the Exported File
- Open the downloaded XLSX file using Excel or other spreadsheet software.
- The data can be used for reporting, analysis, or importing into another system if needed.
This feature ensures that users can efficiently extract lead data for external processing while maintaining data structure and integrity.